Web Terminal with Xterm.JS, node-pty and web sockets.
Have you ever wondered how we can access terminal from front-end itself ?Doesn't it sound fascinating? In this blog, we'll create a terminal in browser with xterm.js, node-pty and web sockets.
Firstly, lets know some of the libraries that we’re going to use for creating the terminal in browser:
xterm.js : xterm.js is used to build terminals in the browser. It provides great terminal experience for the users. Read more about xterm.js here.
node-pty : node-pty is used for forking pseudo terminals in node js. node-pty returns a terminal object which has read and write functionalities. Know more about node-pty from here.
web sockets: Web sockets provides a full duplex communication between server and client over a single TCP connection. Know more about web sockets here. We’ll use socket.io npm package in our demo.
We’ll start building the web terminal now by creating a project and installing necessary dependencies. Let’s create a project with name Web-Terminal and install the dependencies as follows:
npm init -y //initialize npm

//npm packages to be installed
npm i xterm
npm i node-pty
npm i socket.io
Front End Code:
Let’s create a folder named app and write code for frontend inside that folder. We’ll create two files: index.html and app.js inside the app directory.
index.html
The code contains a div with an id=terminal. Inside the head tag, we’re refering to xterm.css, xterm.js and socket.io cdn. Also, we refer app.js file which contains the javascript code.
<!DOCTYPE html>
<html lang="en">
<head>
    <meta charset="UTF-8">
    <meta name="viewport" content="width=device-width, initial-scale=1.0">
    <title>Web Terminal</title>
    <script src="https://cdn.socket.io/socket.io-3.0.0.js"></script>
    <link rel="stylesheet" href="../node_modules/xterm/css/xterm.css">
    <script src="../node_modules/xterm/lib/xterm.js"></script>
    <script defer src="app.js"></script>
</head>
<body>
    <div id="terminal"></div>
</body>
</html>
app.js
app.js file inside the app directory contains the javascript code for the web terminal we’re developing. We’re creating a socket connection with ws://localhost:8080 i.e. to our server (This will be explained in the upcoming section).
We’ll also create a terminal object (provided by xterm.js) and we’ll open that terminal object inside terminal div. Now, we’re provided with terminal interface but we need to write our own event handlers for functioning of the terminal. We have defined onData event handler and whenever users inputs any data i.e. whenever terminal encounters any data, we’re emitting that data using web sockets. From the server side, we’ll grab that emitted data and pass it to node-pty. (Detailed explanation in next section). Also, the returned value from node-pty will be grabbed by socket.on function and that’ll be finally written to the terminal object.
  const socket = io("ws://localhost:8080");

  var term = new Terminal();
  term.open(document.getElementById("terminal"));

  socket.on("terminal.incomingData", (data) => {
    term.write(data);
  });

  term.onData((data) => {
    socket.emit("terminal.keystroke", data);
  });
Back End Code:
Let’s create a folder named server in the backend. And, let’s create a file named index.js inside that folder.
index.js
We’ll use http server for our demo. You can use express server too. Firstly, we’ll create a http server and start it in port 8080. Also, we’ll declare the shell we want to spawn from node-pty based on the os platform. i.e. If windows, spawn powershell else spawn bash.
We’ll then create a socket connection (firstly, we need to set cors origin as * i.e. allow every origin, else you can’t create a connection from front-end to back-end). And we create a ptyProcess variable by spawning the shell/process from node-pty. From front-end, we emitted the data (defined on onData event). So, now we grab that message and pass it to ptyProcess.write() function. The passed data/cmd will then be executed by the ptyProcess and the terminal output will be emitted using sockets. The terminal output is then received by front-end and written in xterm terminal. (as described in the front-end code).
const http = require("http").createServer();
const pty = require("node-pty");
const os = require("os");
var shell = os.platform() === "win32" ? "powershell.exe" : "bash";
const io = require("socket.io")(http, {
cors: { origin: "*" },
});
io.on("connection", (socket) => {
var ptyProcess = pty.spawn(shell, [], {
name: "xterm-color",
cols: 80,
rows: 30,
cwd: process.env.HOME,
env: process.env,
});
ptyProcess.on("data", function (data) {
io.emit("terminal.incomingData", data);
});
socket.on("terminal.keystroke", (data) => {
ptyProcess.write(data);
});
});
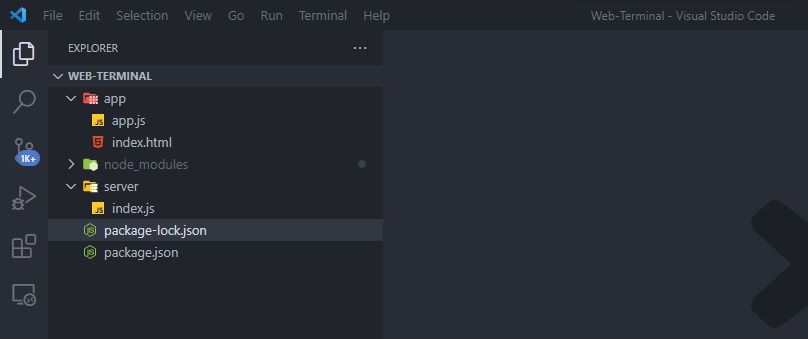
http.listen(8080, () => console.log("listening on http://localhost:8080"));Directory Structure:
Finally, we’ll start the server using node index.js (can use nodemon too after installing the package). Also, we’ll start the frontend (index.html) in live server. We can then directly access the terminal in the browser as shown in the screenshot below:

Conclusion:
We developed and accessed terminal from the browser itself using xterm.js, node-pty and web sockets.
Wonderful piece